Instant3DP – Instant Quote 3D Print


 X:
×
Y:
×
Z:
cm
X:
×
Y:
×
Z:
cm
Model Stats:
| Support Material Volume: |
cm3 |
| Surface Area: | cm2 |
| Model Dimensions: |
x x
cm
|
| Total Path: |
cm |
Unit Price:
Selecting the right filling density:
Based on the filling density, you can determine the stability (or also the weight) of your object.
TIP: “A filling of 20% is quite sufficient in most cases (due to a stable grid structure).”
- 10-30%: for models that are used for illustration or dimensional inspection.
- 30-60%: for models that are to be subjected to a certain mechanical load – e.g.: Functional tests
- 60-100%: for models that will be permanently exposed to mechanical stress – e.g.: Industrial use, stress tests, etc.
Using the graphical example, you can see how the fill density behaves within the closed object:
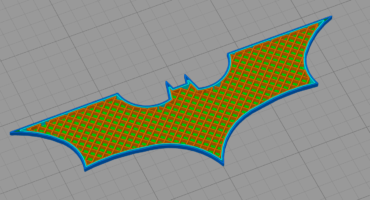
Infill 20%
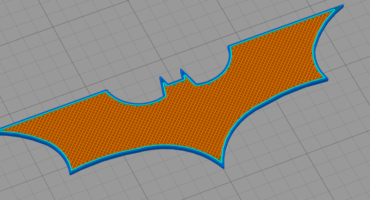
Infill 50%
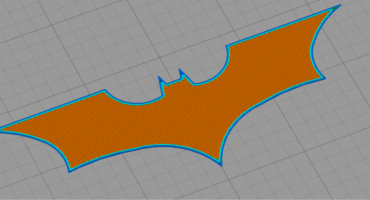
Infill 80%
Selecting the right height layer:
Your model is divided into many individual layers for the processing of our 3D printing process (FDM).
The height of the individual layers determines the subsequent “resolution” or the fineness/accuracy of your 3D print.
Therefore: “The lower the individual layer height, the finer or more multilayered the object is printed.”
However, the following should be taken into account:
- Halving the layer height inevitably leads to a doubling of the printing time.
- The compromise between the desired quality, the printing time and the resulting printing costs should therefore be thought through individually, because:
- Not all geometries necessarily require a low layer height to appear high quality. (Rounding require a significantly lower layer height than straight wall lines for a clean representation).
We available Layer height options for technology –
SLA – 0.03mm and 0.05mm
FDM – 0.1mm, 0.2mm and 0.3mm
Using the examples, you can see what effects the different layer heights have on your object:
FDM
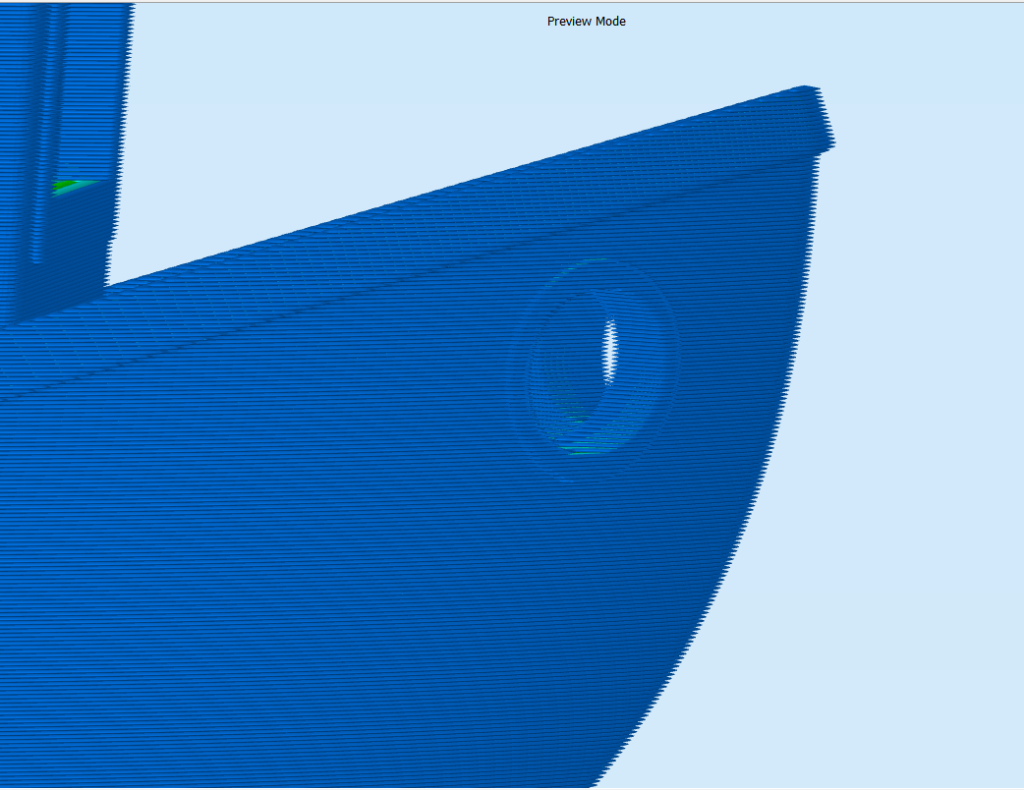
(0.1mm Layer Height)

(0.2mm Layer Height)
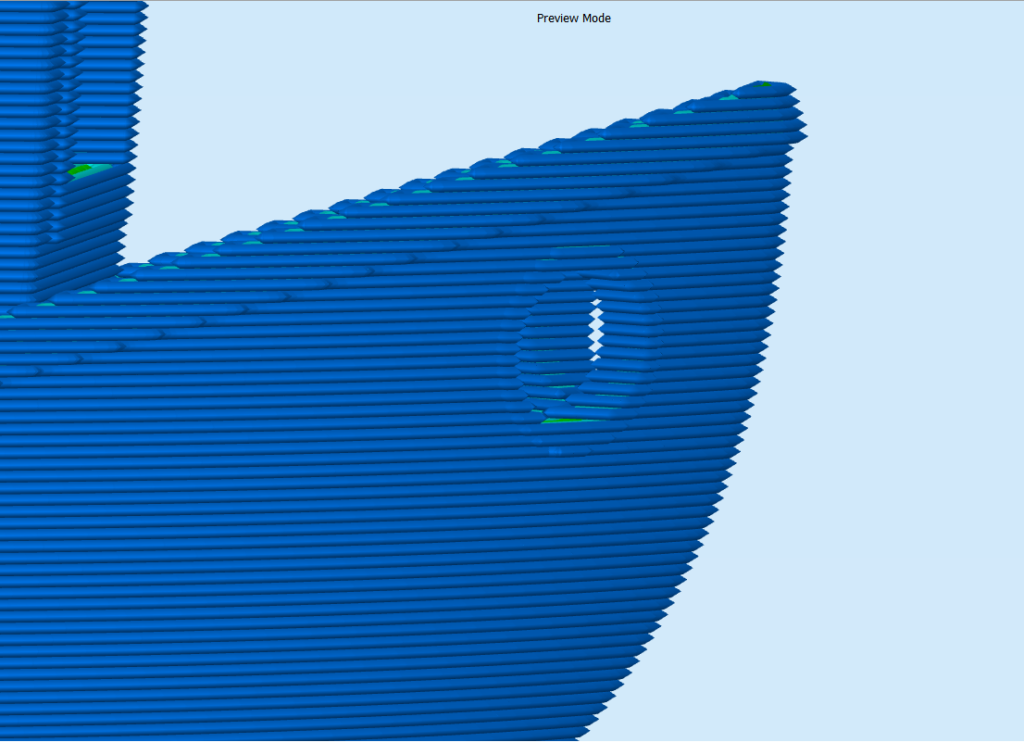
(0.3mm Layer Height)
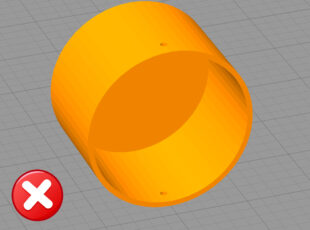
Place the model correctly:
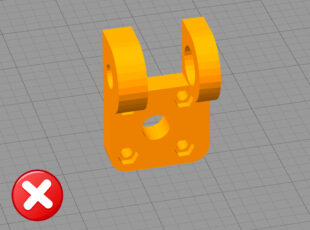
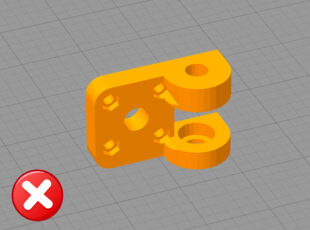
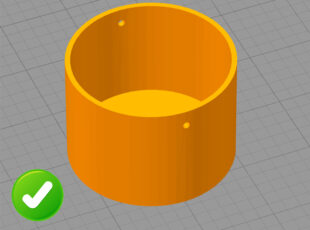
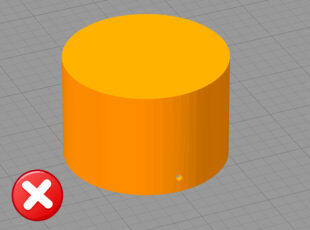
Since the layer build-up in the FDM printing process always takes place “from the bottom up” (i.e. in the “Z-direction”), the layer course in the model can only be influenced by its orientation on the printing platform.
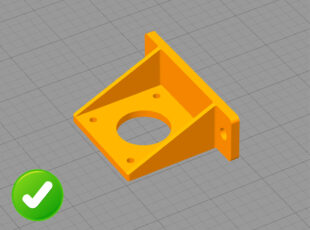
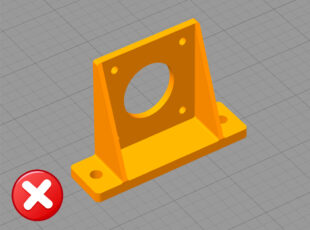
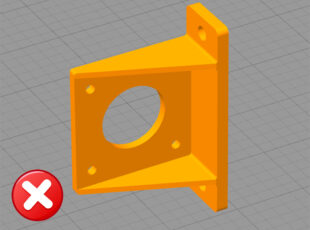
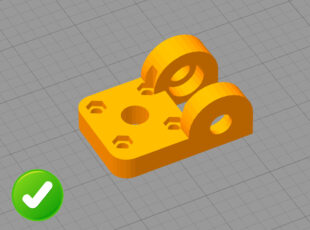
– In most cases, it is advisable to place the model as flat as possible or with the largest possible contact surface facing downwards on the platform.
– If possible, care should also be taken to print as little “support structure” as possible (this is needed for overhangs or slopes from approx. 50°). This reduces material consumption and therefore also printing costs.
– The printing direction has an effect on the appearance, quality as well as stability of the printed part.
– Therefore, align your model according to the geometry and/or the area of application: